 so before i od'ed on the fashion/style blogs, was obsessive compulsive over my hair. i blame a certain group of online ladies for creating the problem that the boy recently told me "had gone overboard". admittedly did. but did learn a very useful craft that may come in handy sometime soon. theatrical hair anyone? todays tip is flat iron curls. the act of using your straightening iron to create luscious waves, curls and body. surprisingly get asked often, how do i get my hair to "look like that" :
 1. it all begins with a great cut. or install [if we are discussing hair extensions]. layers help for the body. and with extensions., i like my hair thick so 8oz is never enough. you can still create great curls without this, this is just maximizing the look.
2. comb/brush hair prior. sounds simple enough. but often i forget to de-snag each section when rushing. take the time to do this. will make hair glide easier through the plates of the flat iron resulting in neater curls and not having to redo sections which damages hair in process.
3. begin with one side at a time. think about the 4 section part for relaxing. or just divide in pigtails. work with one side at a time. reduces overwhelming
3. the next step is explained best in a pic. separate hair in sections. smaller if you have time. but not too thick or not too thin. about 1" -11/2 sections should be enough. this makes it easier to handle hair. use clips, ponytailholders for hair not being curled to get out of the way. now hold the flat iron VERTICAL and place it around your section of hair. rotating either forward or backward [away from your face/towards, here im going farrah so backward/away from face] making sure you rotate all the way down the hair shaft with hair between plates. dont stop turning or the curl wont flow. or [method2]:place hair between plates, then rotate a full 180 degrees and pull flat iron gently down the length of hair. [see vid]

5. complete your way around. if get lazy. [this can be a workout on arms] use bigger sections @ back for a lighter curl/wave and smaller sections around the top and front. this also is great if in a time crunch. lightly curl the bottom layers and back, [if even time for that] and focus on curling sides and couple top layers for the same effect. "messy bedhead/beachy waves look"
6. bonus: pick it all out. tease a bit. i go through with fingers [not comb/brush] and separate curls lightly. [more if going for drama but curls will naturally loosen through day. pulling curls apart, adding volume and dimension. hold head upside down and shake a bit. and you are now rocking. 'video curls'!

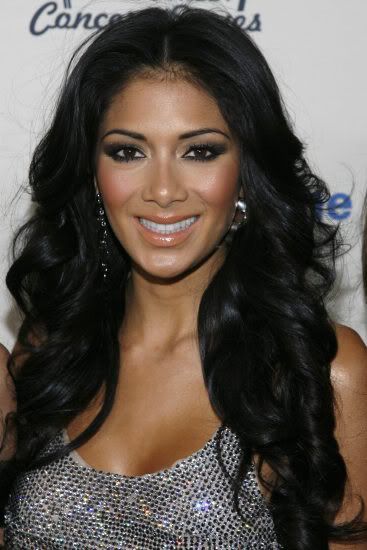
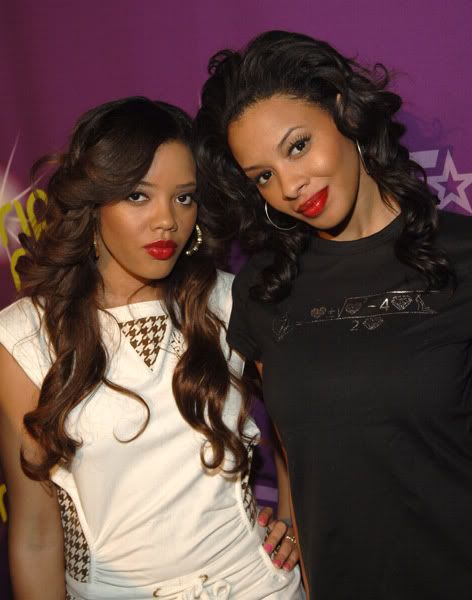
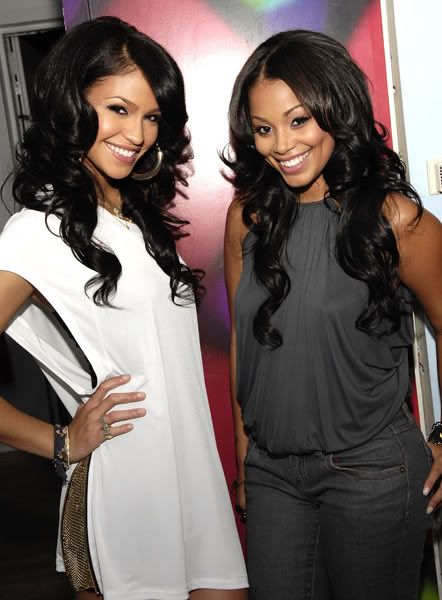
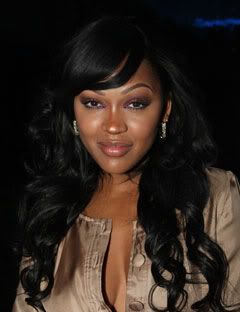
get inspired.
nicole scherzinger. vanessa and angela simmons. lauren london and cassie. and meagan good.
nicole scherzinger. vanessa and angela simmons. lauren london and cassie. and meagan good.
*hope this explains anything or helps. if not. heres a video. which diagrams it better. and perfects my method.
this red/blonde/brown was my favorite work thus far. too bad i dont think theres any recreating it. *shrug
Lovin' the flip girl, long time I never wore my hair like this.. looks great on you!
ReplyDelete-J